Welcome to our home: Bird House Alteration
Hello and thank-you for your visit. A warm welcome too to new followers.
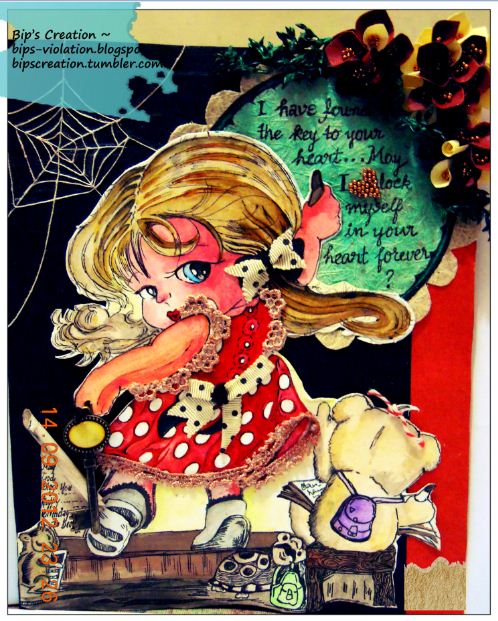
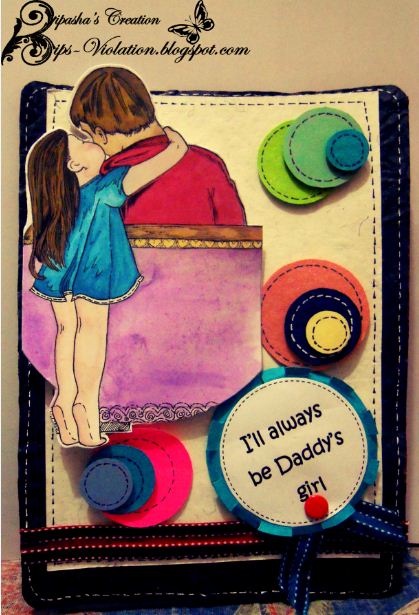
As you might know my favourite style is dimensional projects, usually done with some prettiness. So I came up with one of my creation which I designed lately...
"Introducing my bricking up technique using TH distress inks"

Here, I have implemented a very simple yet
radiant technique to create the front look, which I call as “bricking
technique” and it being very simple (and cost-efficient :P !), I thought you
must give it a try too !
Materials required:
· Trimmer
· patterned paper (preferably little vintage-y will work wonders!)
· Sandpaper or Distressing tool
Materials required:
· Trimmer
· patterned paper (preferably little vintage-y will work wonders!)
· Sandpaper or Distressing tool
· Tim holtz Distress ink pad(preferably dark
shade, I selected walnut stain)
· 3D foam
Instructions:
Step 1: Trim equal strips of paper from a light and dark shade PP.
Step 2: Distress the edges of both the strips.
Step 3: Stick the darker shade strips spaced at equal lengths on the desired-shape base layout.
· 3D foam
Instructions:
Step 1: Trim equal strips of paper from a light and dark shade PP.
Step 2: Distress the edges of both the strips.
Step 3: Stick the darker shade strips spaced at equal lengths on the desired-shape base layout.
Step 4: Slightly distress the edges of the lighter shade
smaller pieces with a distress tool or sand it
Finally, I added those
pieces to the wall with 3D foam for extra dimension.
P.S. a warning for a verrry long picture heavy post...


Linking this post to:
rheddscreativespirit-april-challenge
Thank you for stopping by,leave some love!! I would love to hear you :)
Oh my, this is just fabulous, how creative! So colourful and so much to look at, just love it.
ReplyDeleteA delightful piece.
Thanks for joining us at Rhedds Creative Spirit.
Moira DT xx
It's stunning, Bipasha! You are very creative!
ReplyDeleteHugs,
Aneta